.png)
At Taptiq, we know that building an event app should be fast, easy, and flexible. That’s why we let you choose the features and modules you need and organize them to fit your event. With the Menu & Navigation section, you can create a custom app menu that gives attendees quick access to the most important parts of your app, like the agenda, speaker list, networking tools, and more. This article will help you choose the right menu items, organize them clearly, and set everything up in Taptiq Admin.
How to Define Which Menu Items You Need
Before adding menu items, think about what your attendees need the most. Here are a few questions that can help:
- Do you want people to network? → Add Networking and Messages.
- Will they need to check the event schedule often? -> Add Agenda/Schedule.
- Are you planning to highlight speakers or partners? → Add Catalog/List and upload the appropriate content.
- Do you want to share news and updates? → Add News Feed.
- Do you need to link to an external page or form? → Use the Link to Webpage.
Each event is different, so keep your audience in mind.
Best Practices for Creating a Clear and User-Friendly App Menu
- Keep it simple. Don't overload the menu with too many items. Focus on what's essential for your attendees.
- Use clear names. Choose titles that are easy to understand, like "Agenda," "Speakers," or "Map."
- Put the most important items first. You can reorder the menu items to prioritize key features.
- Group related content. For example, if you have multiple catalogs (like Sponsors, Partners, and Exhibitors), put them together in the menu.
- Test before going live. Use the Preview button in the Taptiq Admin to see how your app menu looks.
Setting Your Event App Menu
Watch our short tutorial to see how to quickly set up your app menu, or follow the step-by-step guide below.
- Go to App Design → Menu & Navigation.
- Click Add Menu Item.
- From the dropdown, select the necessary module for your content (for example, Link to Webpage).
- Drag and drop items to change their order.
- Click Save & Apply.
You can also:
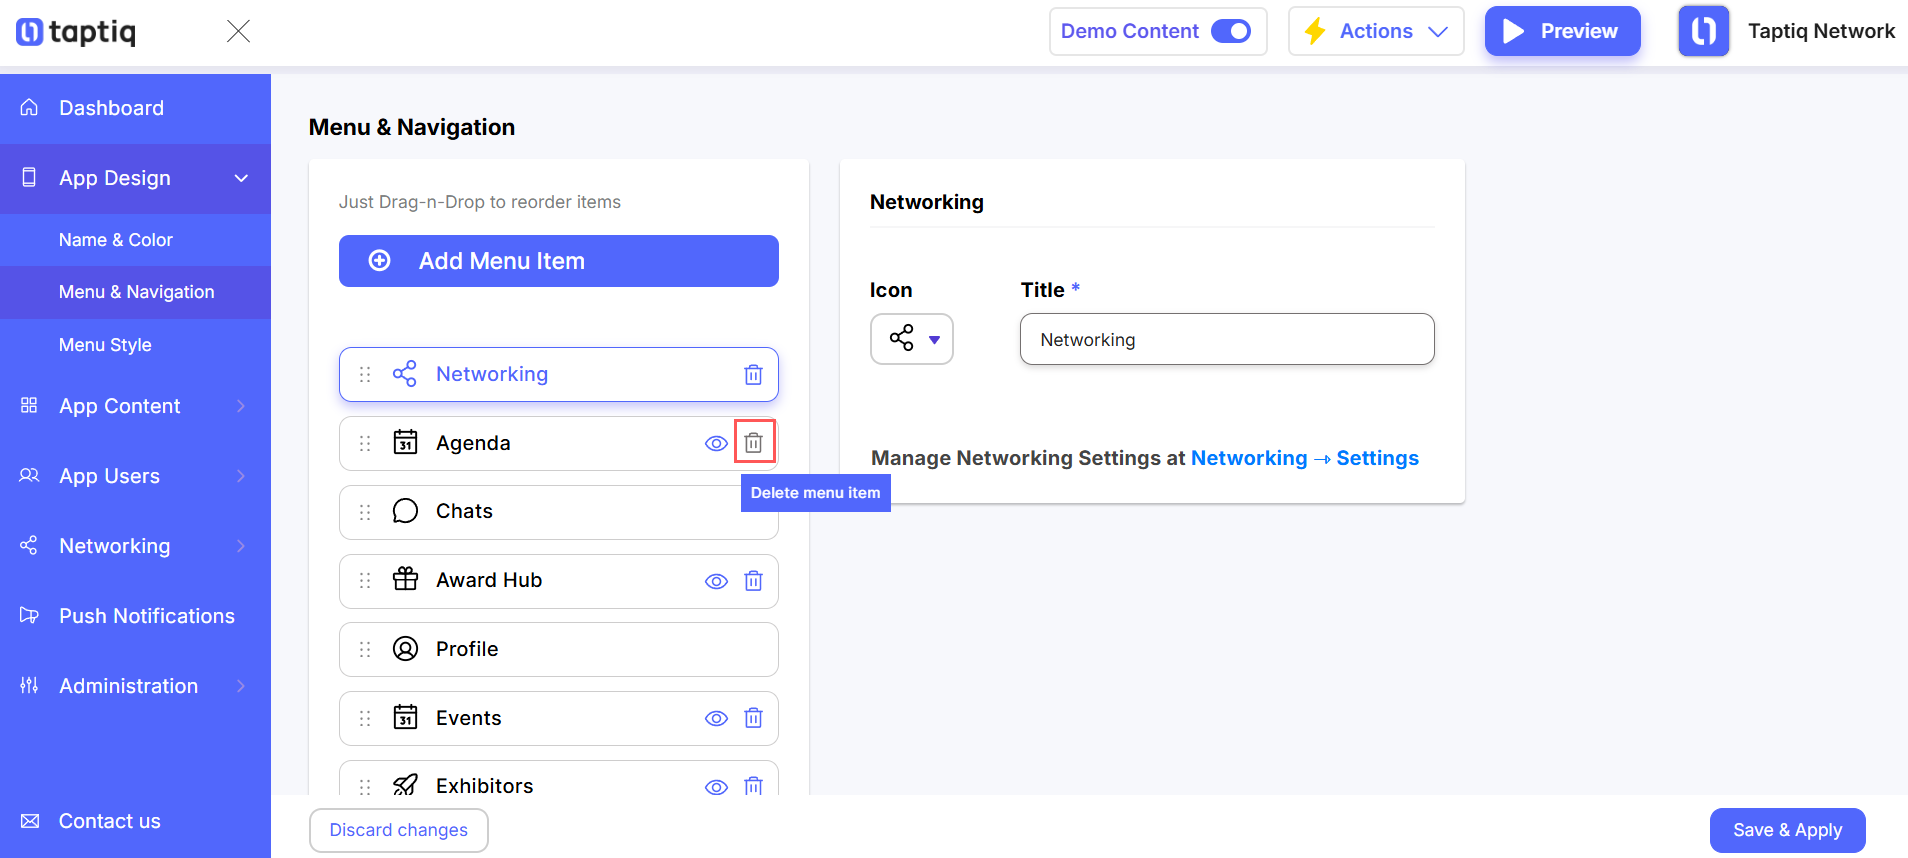
- Hide or unhide any menu item by clicking the eye icon. Hidden items won’t appear in the app, but you can unhide them anytime.

- Delete a menu item by clicking the trash icon.
Please note: You can’t delete default modules like Messages, Profile, Settings, or Notifications.
General Menu Item Settings
When adding a new menu item, you’ll see a few settings that are available for most modules:
- Icon: Choose the icon that users will see for this menu item in the app.
- Title: Enter a clear and simple name that users will see in the app menu.
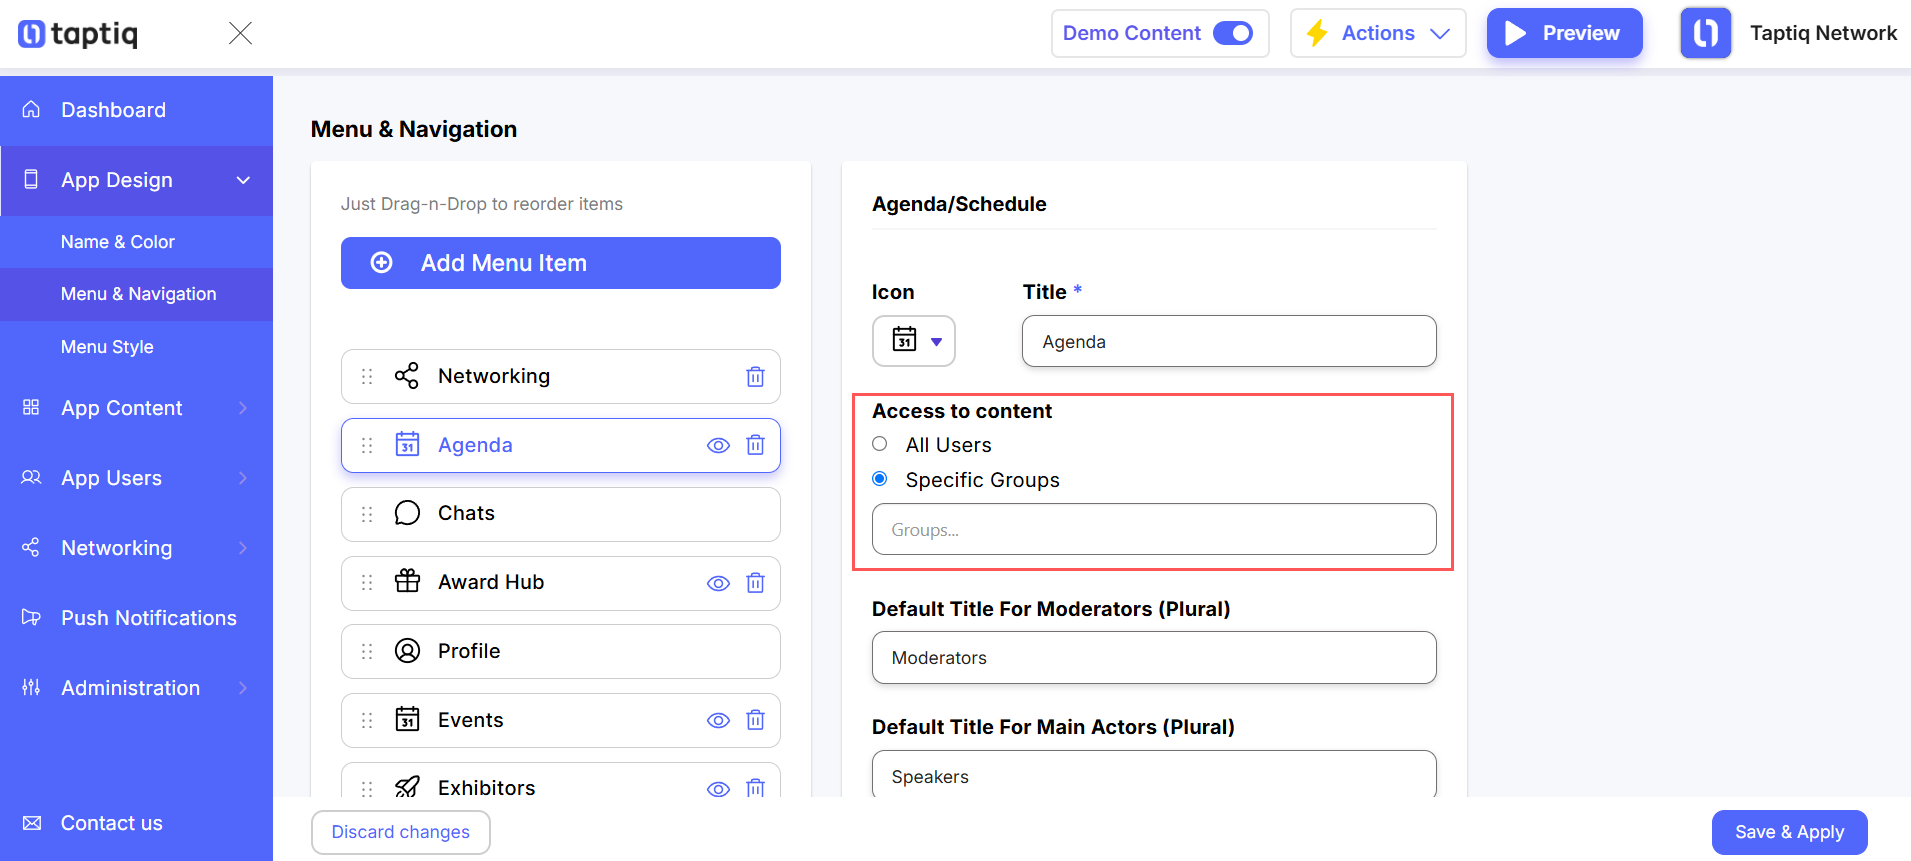
- Access to content: Decide who can see this menu item
When setting the Access to content, you have two available options:
- All Users: Everyone can see it.
- Specific Groups: Limit access to a group of users. You’ll need to create user groups in advance. Then, select Specific Groups and choose the necessary group from the dropdown.
Specific Settings for Menu Items
Some menu items have extra settings you can customize. These depend on the module you select when creating a menu item.
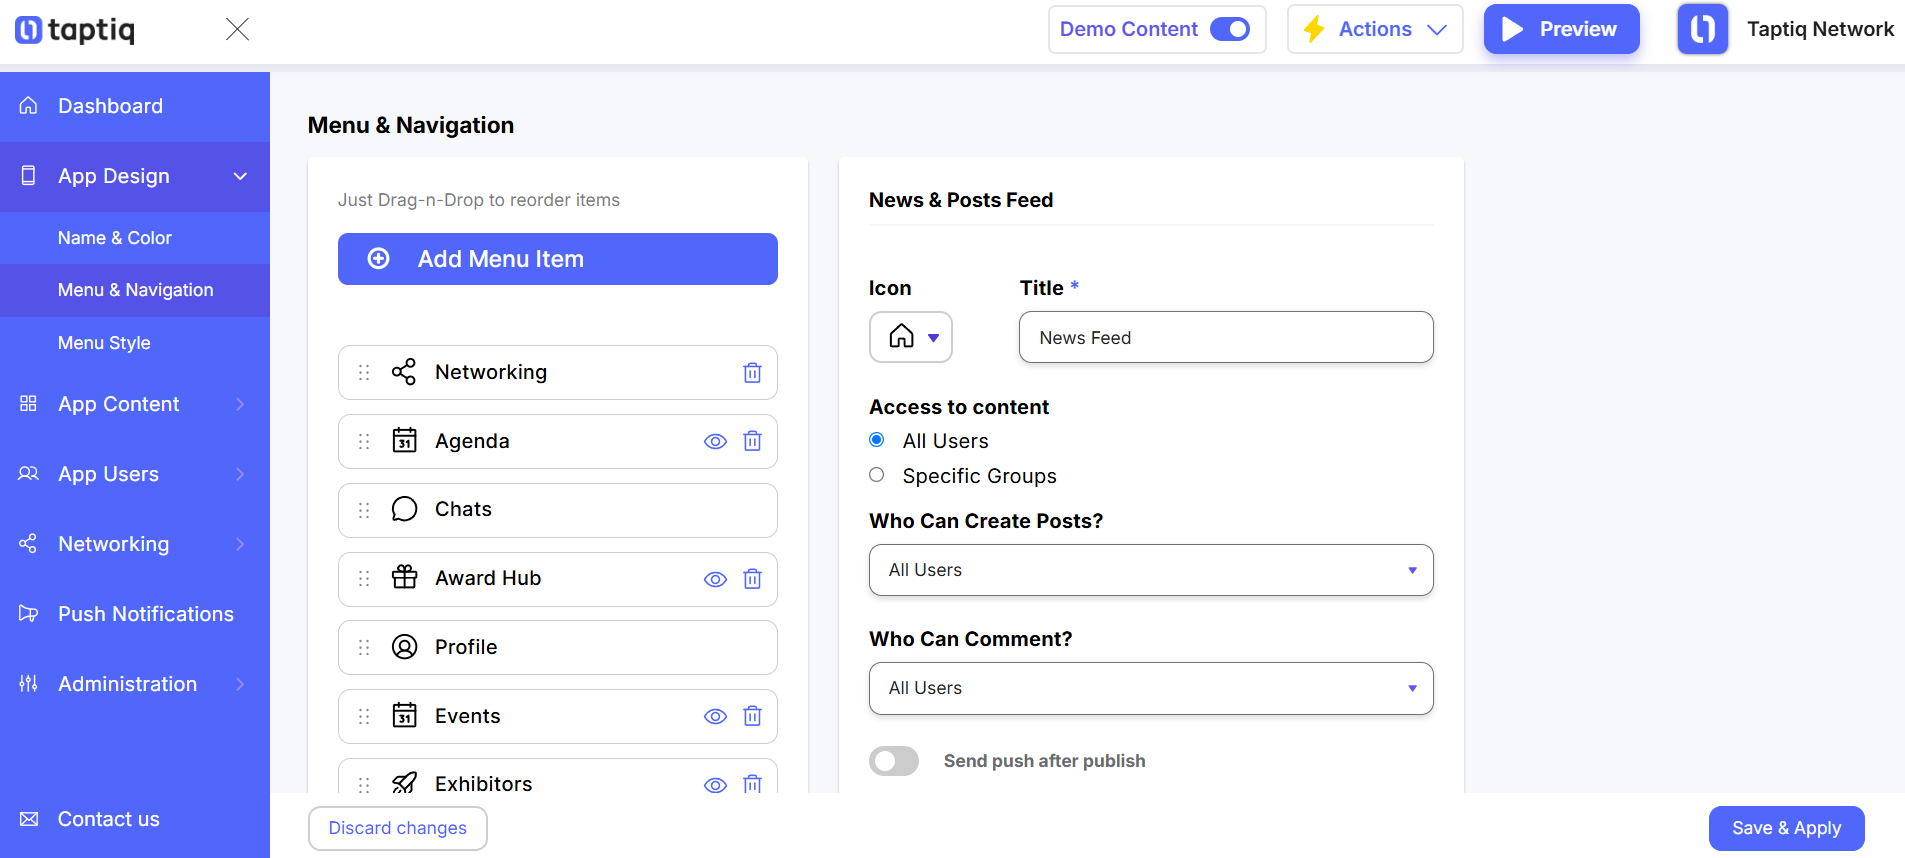
News Feed
- Who Can Create Posts? Choose who can create posts in this feed: All users, App owner, or Specific group of users.
- Who Can Comment? Decide who can comment under posts: All users, None, or Users from a specific group.
- Send push after publish: Enable this toggle to automatically send a default push notification when a new post is published.
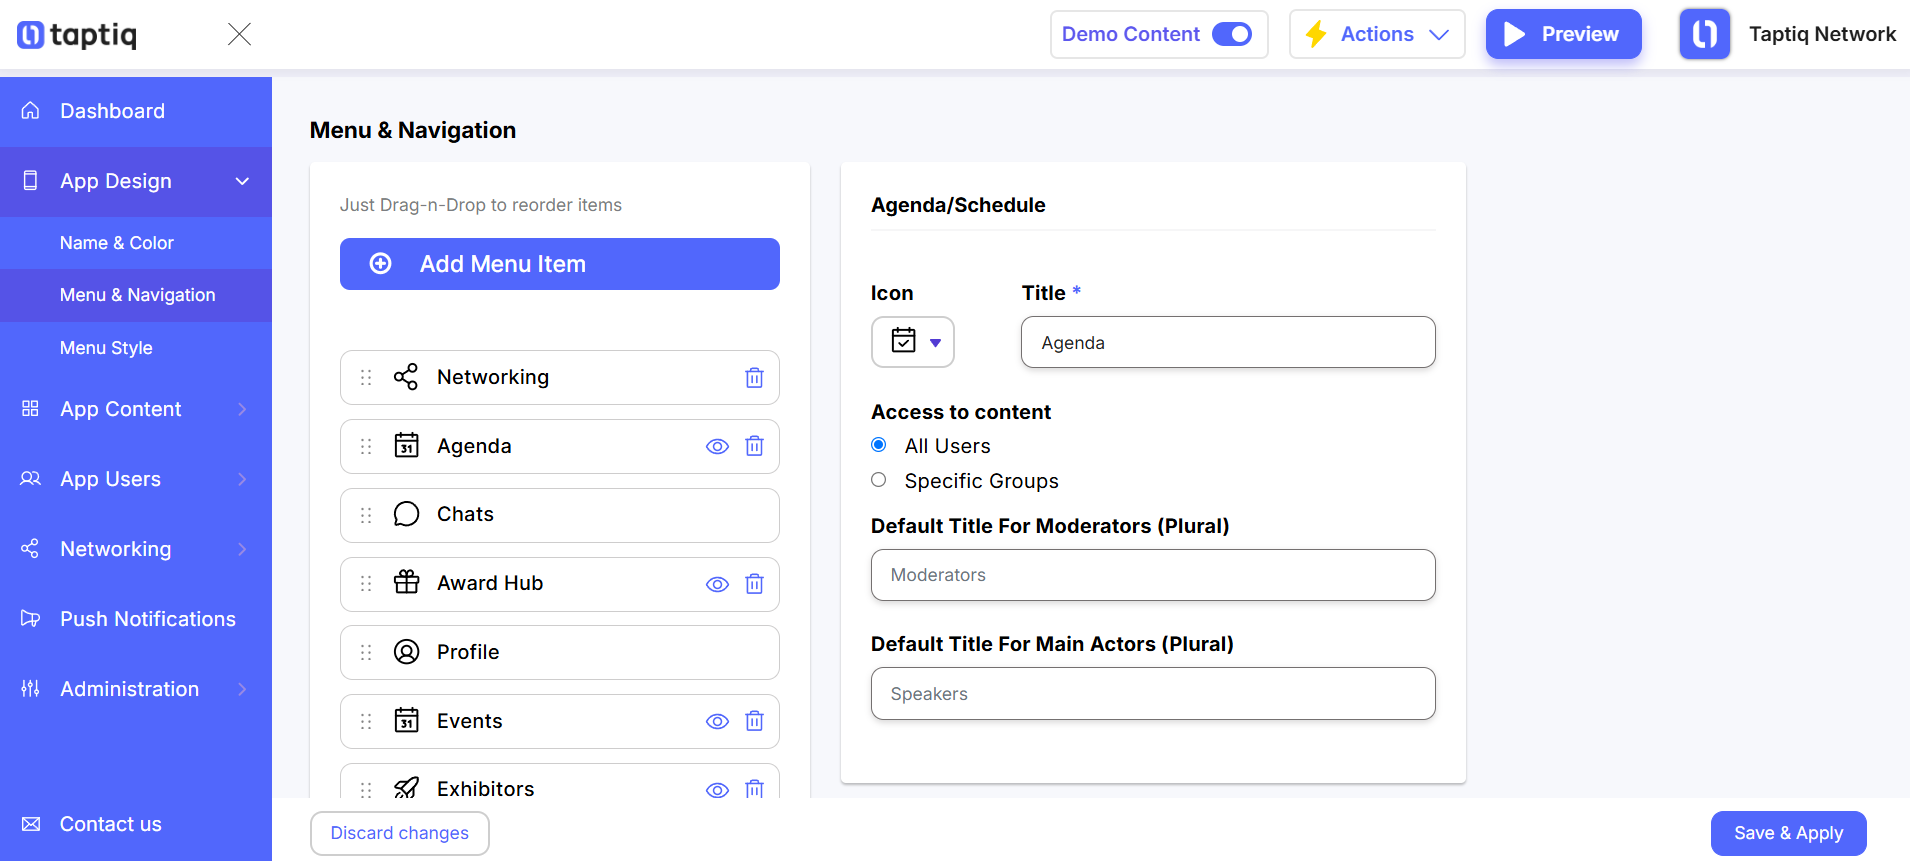
Agenda / Schedule
- Default Title for Moderators (Plural): Change how to label moderators in the agenda.
- Default Title for Main Actors (Plural): Change the label for main speakers or participants. For example, "Speakers".
Members List
- Who Will Be Shown in the List? Choose whether to show all users or only users from a specific group.
- Default Sorting: Decide how the users appear in the list. Available options: Newest first, Oldest first, Name A–Z, Name Z–A.

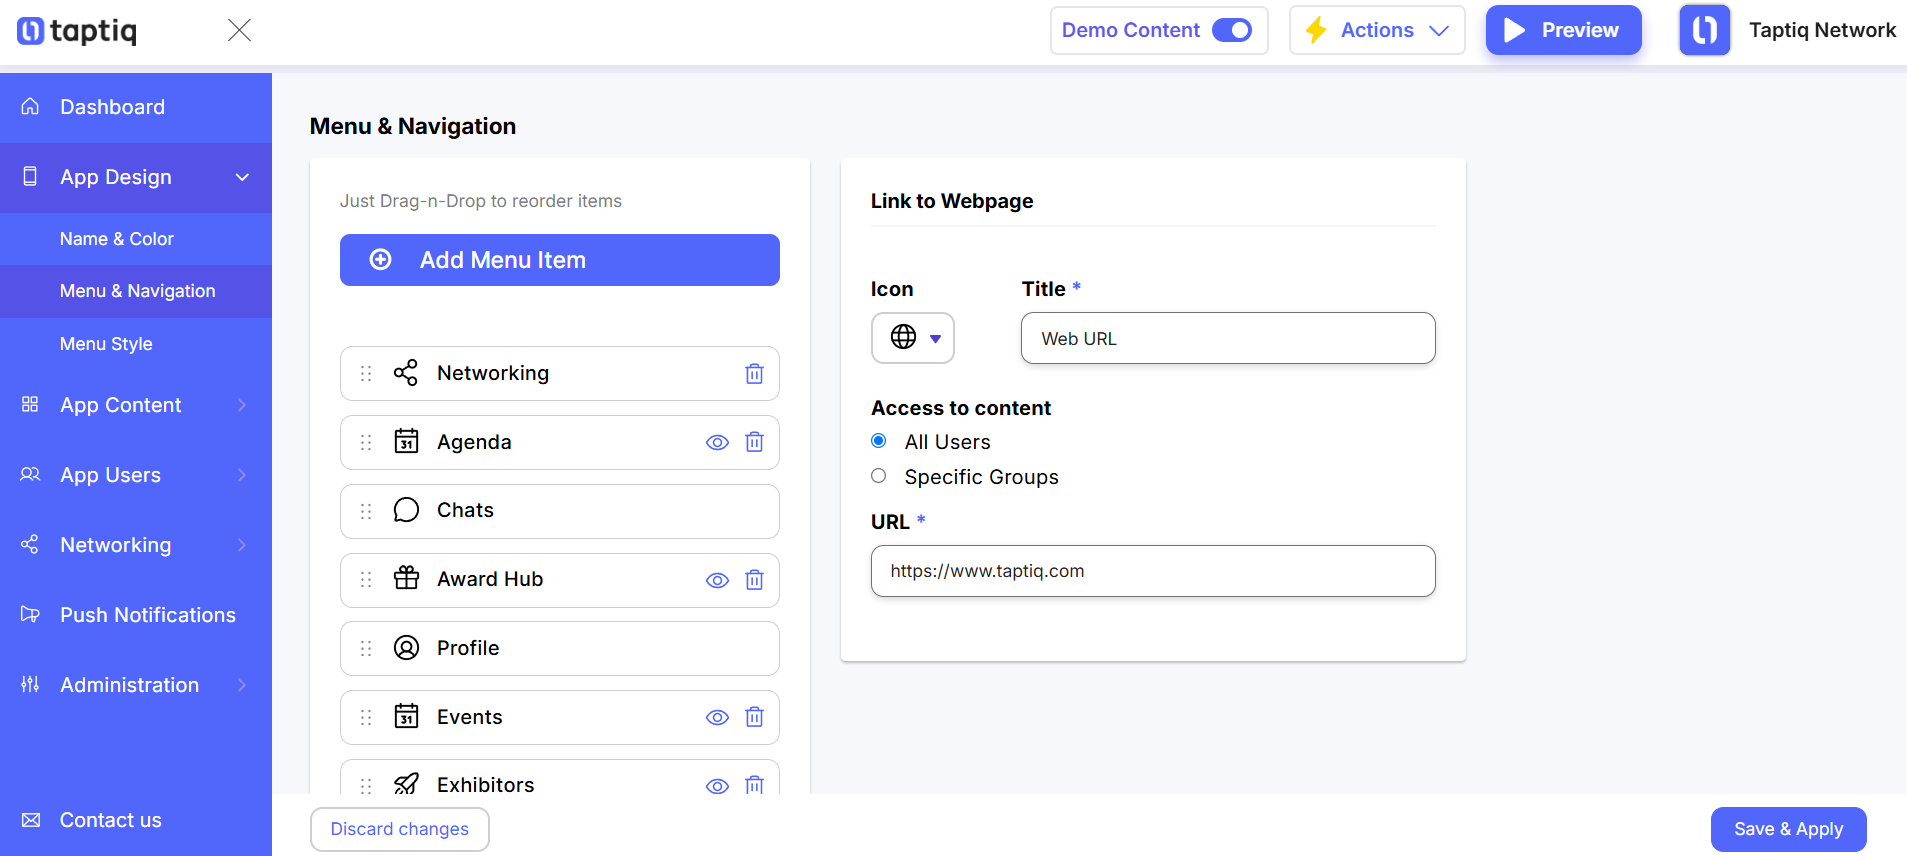
Link to Webpage
URL (required): Paste the link to the webpage you want to show in this menu item. It can be any resource you want users to access.
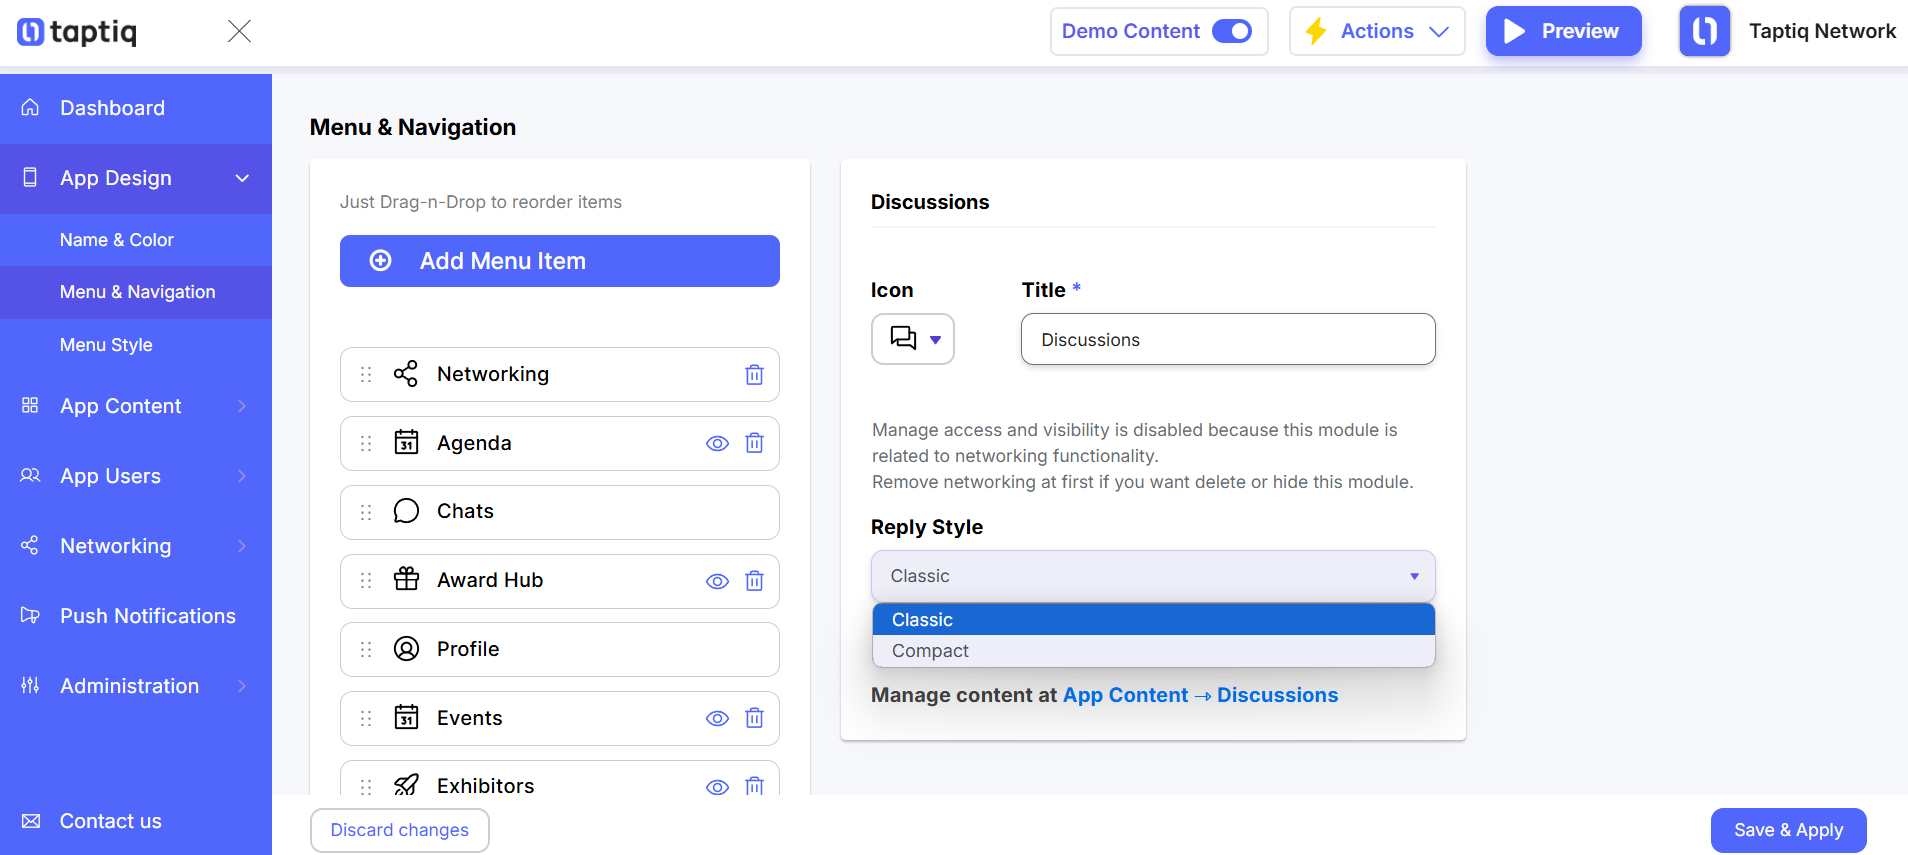
Discussions
- Who Can Post and Reply? Control who can start new discussions and reply. Choose from All Users, App Owner Only, or Specific Groups.
- Reply Style: Select how replies appear: Classic (separated layout) or Compact (simplified view).
.png)
Catalog/List
- Style: Choose how the content will look. Several layout styles are available.
- Use content from existing module: Turn on this toggle if you want to pull content from another module. For example, to display speakers from the Agenda. Click here to learn more about copying speakers from Agenda

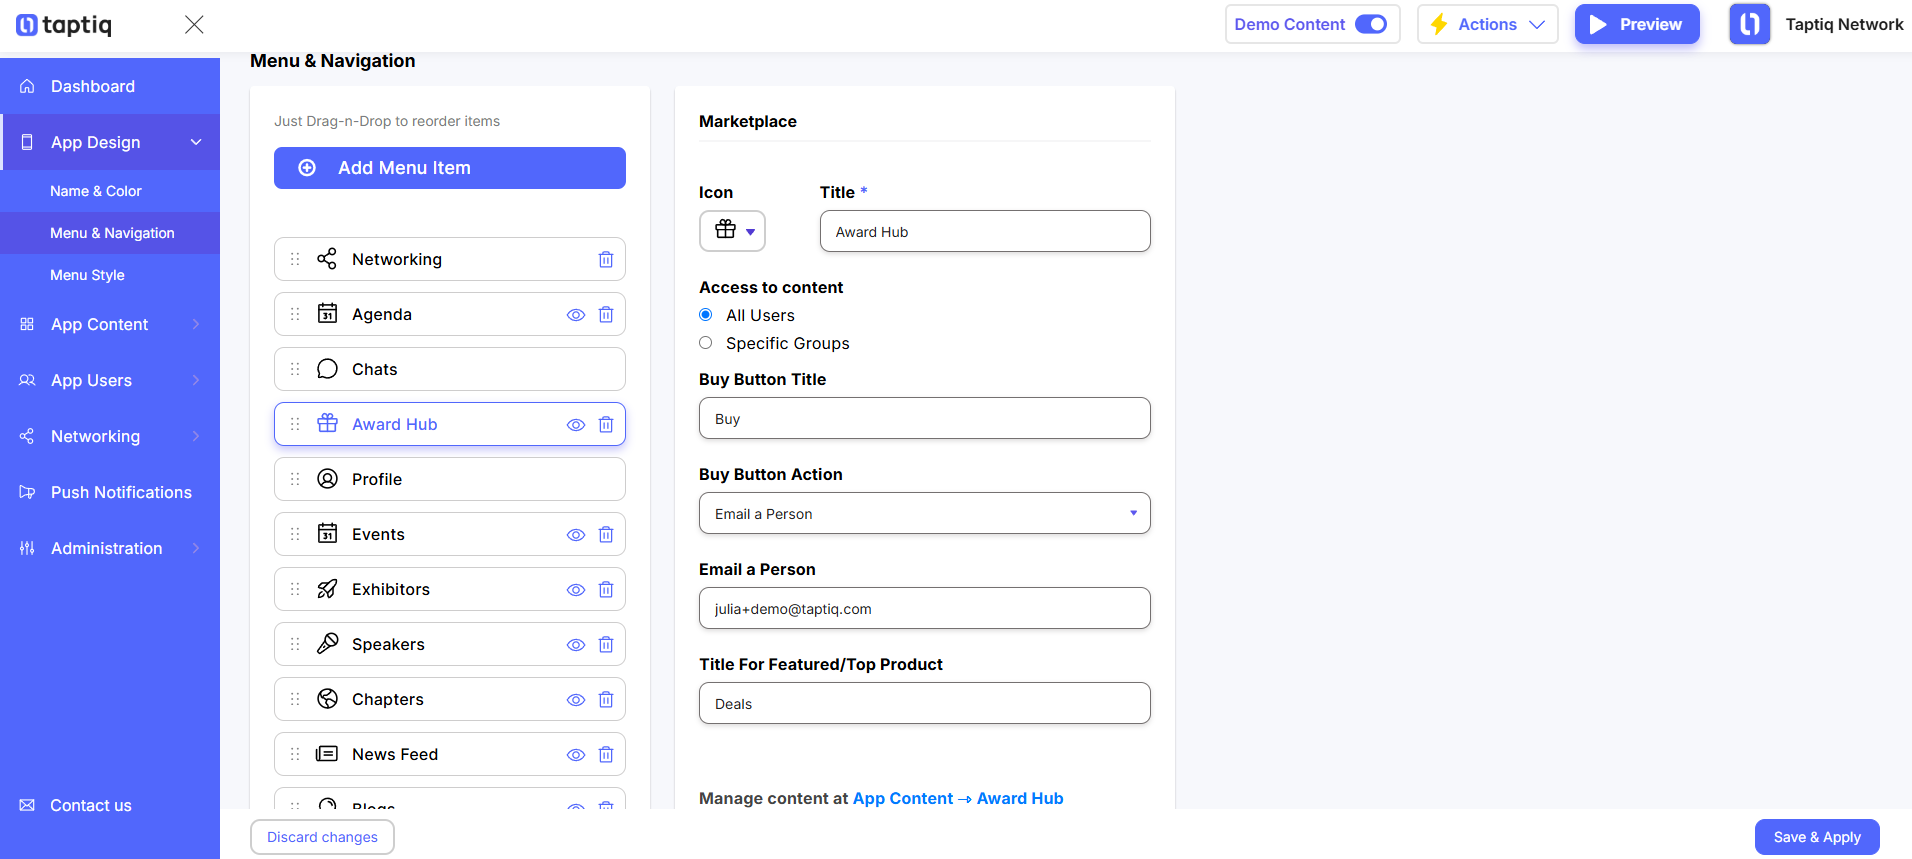
Marketplace / Award Hub
- Buy Button Title: Set the label for the button users will click to take action.
- Buy Button Action: Choose what happens when the user clicks the button. Available options: Email a seller (enter the email address below), Open a link (paste the link to the product or more details), or Message a user (choose the user from the list).
- Title for Featured/Top Product: Change the section title shown for featured or top items in the marketplace.
Setting up the app menu is a key step in building a great event app. With Taptiq, you can add the modules you need, organize the menu, and customize how content appears for different user groups. A clear and well-structured menu helps users navigate the app and find what matters most.
Ready to build your event app menu?
Use Taptiq to create a simple, user-friendly networking app for your attendees. Get started now!
.png)
.png)
.png)